How to Fix Rotten Holes in Tree Trunks (Without Losing Your Favorite Shade Tree)
What you should do when you find a hollow or rotten spot in your tree
There’s something special about a mature tree in your yard. It offers shade on a hot afternoon, adds character to your space, and creates a home for birds and other wildlife. So when you notice a hole forming in the trunk, it can feel alarming. Is the tree dying? Is it dangerous?
The truth is, not every hollow means disaster. With proper care, even the most battered trees can bounce back. The key is knowing what you’re dealing with and how to handle it.
Step 1: Assess the Damage Before You Freak Out
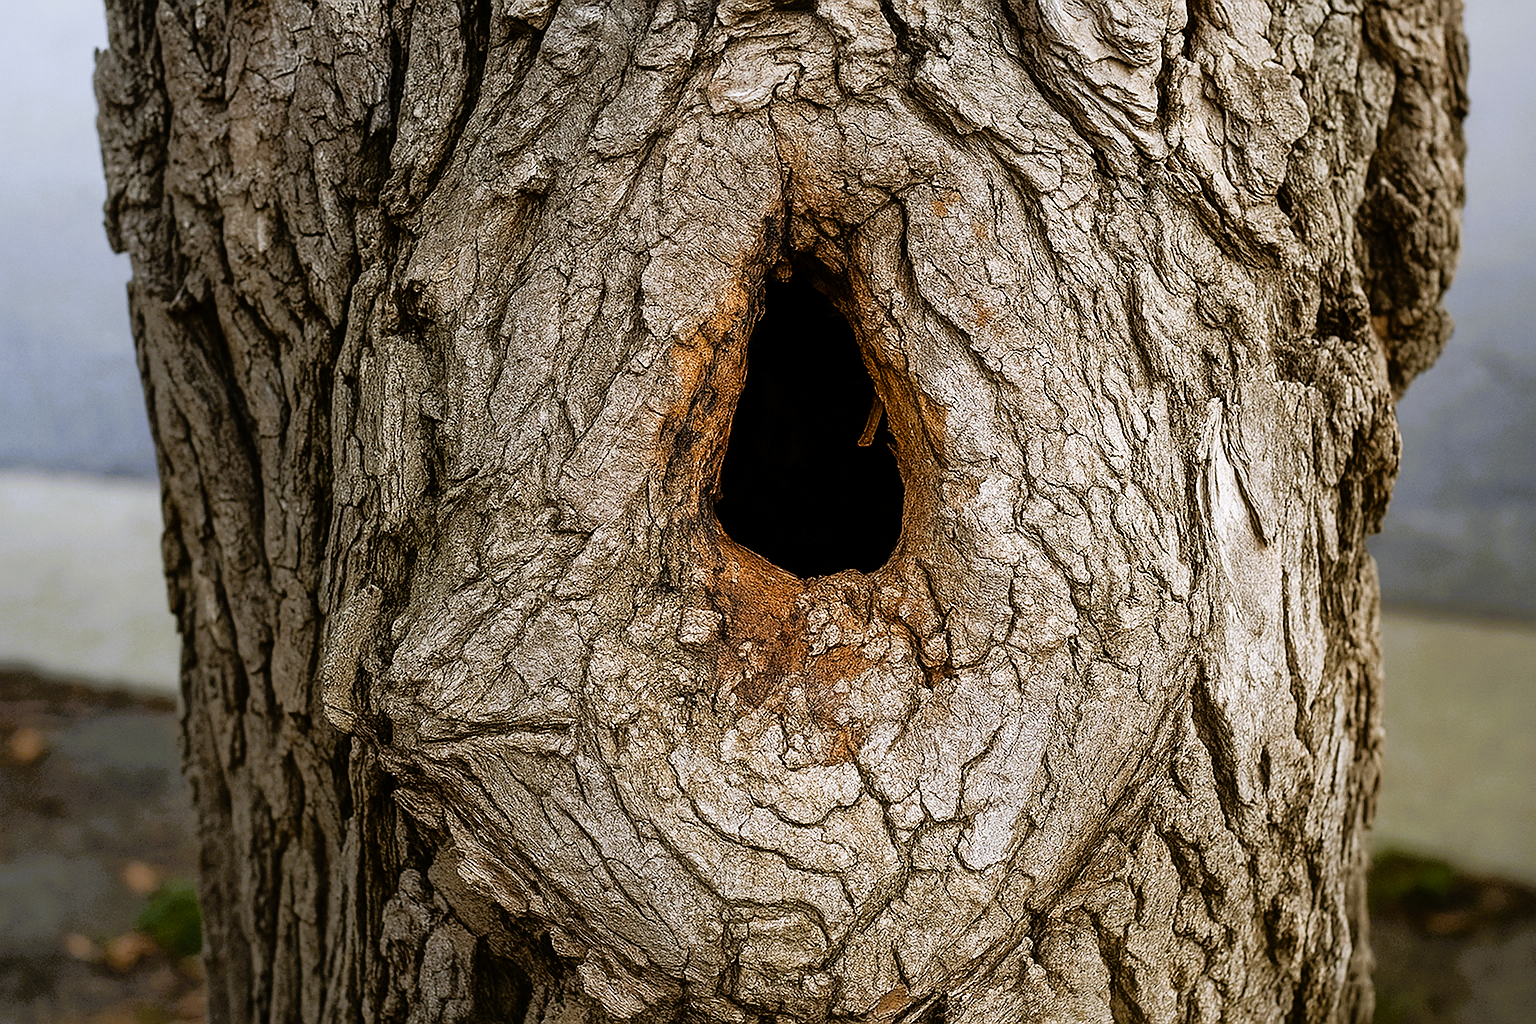
Holes come in more shapes than you’d think. A small shallow cavity might just be cosmetic, but a large rotting section could weaken the whole tree.
Here’s what to look for:
- Healthy vs. unhealthy bark: Is the bark around the hole solid, or is it soft, flaking, or discolored?
- Pests and fungi: Do you see insects, sawdust, or mushrooms? That’s a red flag.
- Tree’s overall health: A strong, well-watered tree has a much better shot at recovery than one that’s already stressed.
If you’re unsure, calling a certified arborist is always the safest option. They’ll know if your tree just needs some attention or if it’s becoming a hazard.
Step 2: Gather Your Tools and Materials
For small repairs you’re comfortable handling on your own, start by gathering a few essential tools and materials:
- Sterilized pruning knife or saw (to cut away dead wood)
- Gloves and safety goggles
- Closed-cell foam filler (to support the cavity)
- Tree-safe sealant (optional, for extra protection)
Always use materials that won’t harm the tree and can withstand changing weather.
Step 3: Clean the Hollow
Before you fill the cavity, prep the space. Carefully remove loose or rotting wood, but avoid cutting into healthy tissue. Think of it like cleaning out a wound—you want the area fresh and dry so the repair will hold.
Step 4: Fill the Hole
Here’s how to do it:
- Lightly mist the expanding foam filler.
- Let it grow and find its place.
- Cut away any extra so it rests neatly against the trunk.
This keeps water from pooling inside and helps deter pests. It might feel odd to use foam in a living tree, but it supports the trunk while the tree continues its natural healing process.
Step 5: Optional Finishing Touches
Some people like to seal and even paint the repaired area to blend with the tree’s bark. This isn’t strictly necessary, but a tree-safe sealant can help protect the repair from moisture and insects. If you choose to paint, always use non-toxic, plant-friendly paint. The goal isn’t to make your tree look perfect—it’s to help it heal and stay healthy.
Step 6: Keep an Eye on It
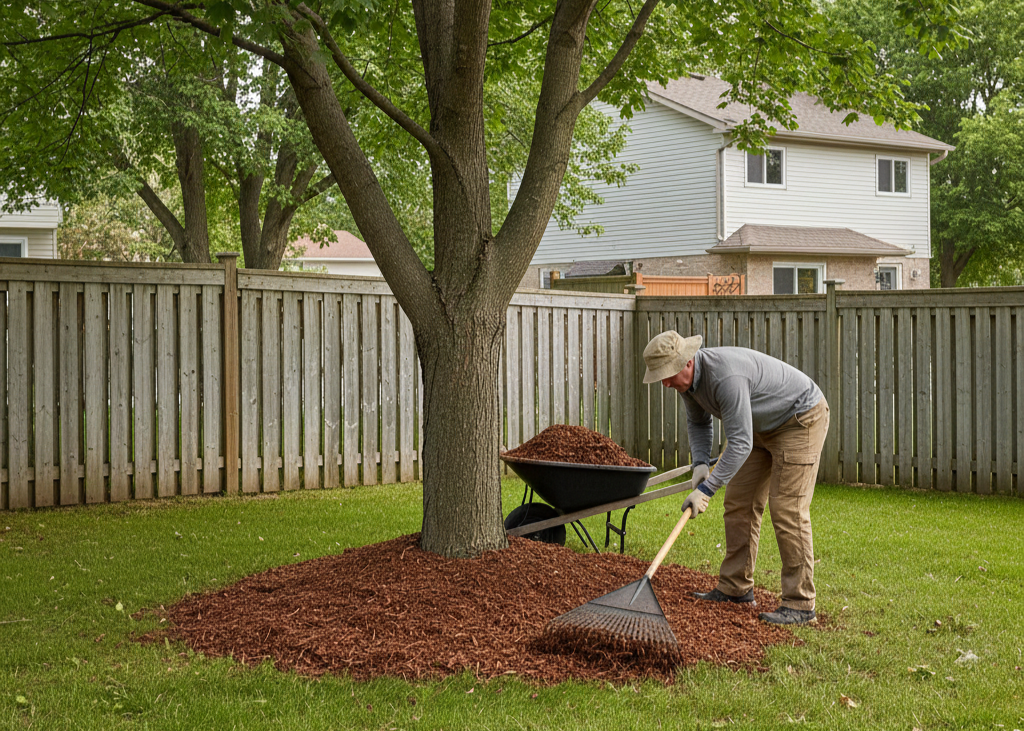
Repairing the cavity isn’t the end of the process. Trees heal slowly, so it’s important to check the area regularly. Look for new signs of decay, pests, or cracking. At the same time, keep up with basic tree care: water during dry spells, add mulch around the base, and provide nutrients if the soil is poor. A bit of care today can save a lot of trouble tomorrow.
When to Bring in the Tree Specialists
DIY fixes work for small issues, but some problems need professional care. Call a certified arborist if you notice:
- A large or deep cavity
- Visible pests or fungal growth
- Structural instability, like leaning or cracking
Arborists have the training and equipment to restore your tree safely while reducing the risk of property damage.
Keeping Kanata’s Trees Healthy and Thriving
Looking after your trees can be simple and stress-free. If you live in Kanata, Kanata Tree Service Masters can help with everything from repairing hollow trunks to pruning and general maintenance. With expertise you can trust, their certified arborists nurture your trees to be healthy, safe, and stunning.
Don’t wait until a small hollow turns into a major hazard.
Contact Kanata Tree Service Masters today and give your trees the care they need. Your yard—and your family—will thank you.
You might also like
Kanata Tree Blog